Chadis Crafts' Fun Pages
Clay Rubber Stamping Projects
Clay Stamping is a very easy project for children of all ages.
Especially the
very young.
Any rubber stamp can be used on Polymer clay to make a project look
more interesting.
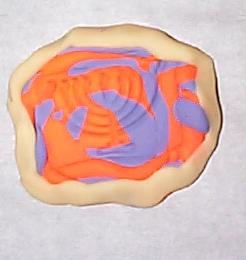
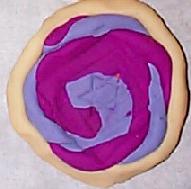
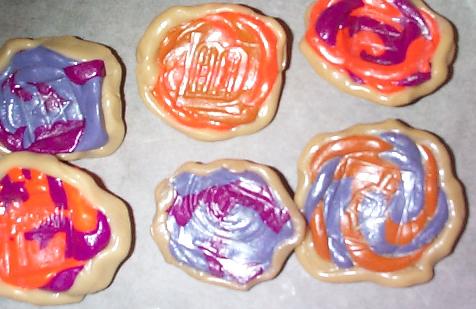
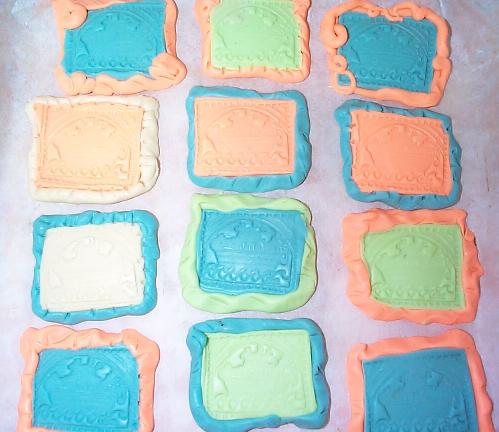
CLAY STAMPED PINS I recently taught a
class of 3 and 4 year olds. We made pins using bright colored Sculpey Clay
and added a glow in the dark clay border.
 Give each child a piece of wax paper to
work on for a clean surface. Also wash their hands before and after project to
keep the project clean and to keep the chemicals off their hands afterwards.
The children first softened the Sculpey by playing with it for awhile, keeping
it on the wax surface. I gave each a small amount of sculpey. (about 1/4 and
ounce of each color.) I try with preschoolers to only give one color at a time
and repeat instructions often when they have more than one color. Otherwise they
tend to put the colors together too soon and you end up with gray etc... They
then rolled snakes. We twisted snakes together and coiled it. Glow in the dark
was added as a snake around the edge. I did this just for fun but it is a great hit with
kids and may even be a safety plus.
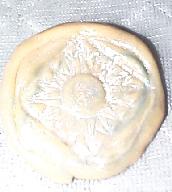
The children then picked a stamp and I helped them stamp it in the center.
This class was for a Jewish Preschool but any kind of stamp can be used.
Some of the children were not Jewish or did not want a Jewish Pin that day
and used other style stamps.
Make sure to carve their name or initials some where on the edge. This way it
will be visiable after you glue the pin on.
 Bake on a parchment paper covered pryrex dish (or metal cookie sheet) (follow
clay instructions for baking temp and time.)
Bake on a parchment paper covered pryrex dish (or metal cookie sheet) (follow
clay instructions for baking temp and time.) Glue your pin onto the back. I added white polymer powder to
accent them. Sculpey gloss finish was added to protect it. (Or you can use
Future Floor Wax)

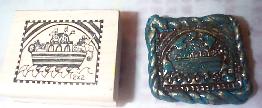
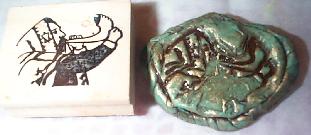
 Noah's Ark Rubber
Stamp Pin
Sculpey Glow in the Dark Clay
I found some great Jewish and other stamps at Zum Gali Gali Stamps. (see my
Jewish resource page) One was of Noah's Ark. As I was teaching a class of 3 & 4
year olds, I decided to use the glow in the dark clay. They love it. I used
about two sets of clay for about 20 pins. I decided to add white clay powder to
accent the stamping. Probably a mistake for the glowing part. (picture coming) I
could not find in my supplies my brown Plaid plaster antiquing paint I like to
use. It would look great with the antquing paint. You paint after baking and
wipe off almost immediately. 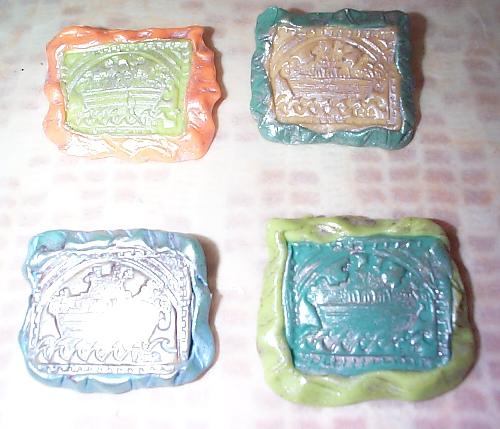
Same pins with
white metallic powder added to a little gloss. Excess rubbed off with paper
towel and then reglossed. Not sure if this method wrecks the glow in the dark
but it looked cute.
Same pin with
Sculpey and Anitquing.(see below)
See my
clay page for more
clay ideas. Also my baby food jar page for more uses for recycled baby food
jars. I bought the Jewish rubber stamps at the Israel Bookstore in
Boston and online from Zum Gali Gali Rubber Stamp Company. See my Jewish Resources for links
to stores and online rubber stamp companies. The other stamps can often be found
the clay aisles of stores and catalogs.
OTHER CLAY STAMPING PROJECTS:
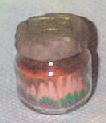 One project I like is to cover a metal
jar lid with clay. In
this case we used a baby food jar. I had the children play with the clay to
soften it. They used enough sculpey to cover the top and sides of the
lid. Making sure to remove any clay that got on the inside or lip of the
lid. After they covered it with about 1/4 to 1/2 inch thick of clay on the
top, the children picked their favorite stamp. The children stamped it. This is a
picture of a sand art project. I had the children make the cover on one day,
baked and glazed it. Making sure to use a permanent marker to write their name
on the inside of the cover. The teacher and the child will forget whose it is. It was then ready
to protect the sand art. Children should
still be cautioned that they should not tip the jar. There is no way to fill
the jar completely. The sand design can be destroyed if shakened or tilted.
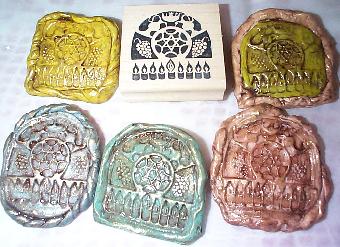
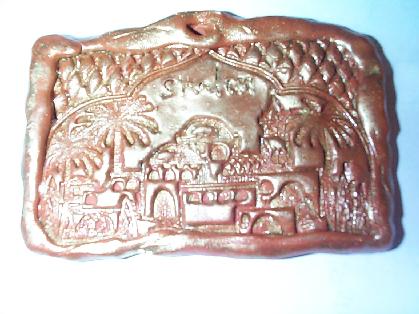 Clay Rubber
Stamp Wall Plaque - Jerusalem Stamp Mizrach Placque A Mizrach ( I hope
I am using the right word and spelling!) Is the sign, placque, picture that many
Jews place on a wall that faces the direction of Jerusalem (Israel). It is
used to remind people which direction to face when praying in the home. I
thought this would make a fun plaque.Supplies: I found a great large rubber
stamp at the Israel Bookstore in Boston. (see Jewish resource list) It was made
by Rubber Stampede. I used the new terra cotta Sculpey clay. It comes in a 1 3/4
pound box. It is very economical. About $9.00 a box. I used two boxes and
managed to make about 20 plaques. Instructions:
The children played with the clay for a short
time. I had them roll it into a ball. Then they flattened it and took turns
pressing the stamp. We cut off the extra that we later rolled into a snake for
them to use as a frame. Don't forget to scratch their name in the back and to
put a hole for hanging. I scratched some with the word SHALOM and painted others
after baking with a metallic gold pen. I painted some gold metallic clay powder when I painted
on the Sculpey Gloss. I recommend some yarn or ribbon through the hole for
hanging.
Clay Light Switch Cover with Native
American Stamp Designs
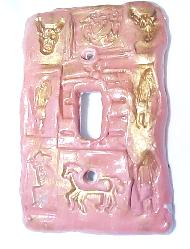 See my Clay Light Switches Page for full directions
how to make this craft. Clay is rubber stamped with Native American designs.
The rubber stamps were available through a catalog. I think S & S but it was a
long time ago.
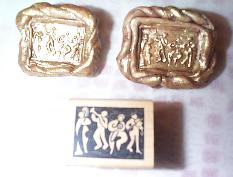
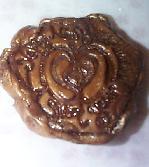
Clay Pins for Adults and SeniorsClay with Brown Antiquing and
Gold Powder
Zum Gali Gali Stamp Company
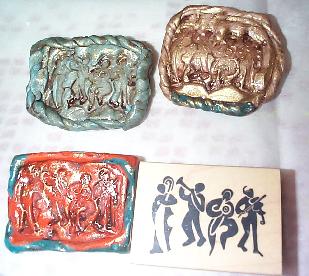
Rubber Stamp with Band
Same design in smaller Stamp
Rubber Stamp With Chanukah Candles
Rubber Stamp with Man (Rabbi?) blowing
Shofar (Ram's Horn)
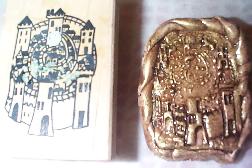
Rubber Stamp Old City In Jerusalem
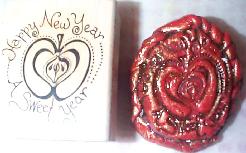 
Rubber Stamp Apple and New Year
Greeting

Rubber Stamp Penguin
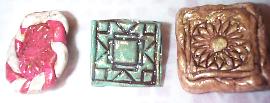
Assorted Generic clay stamps found in craft
stores.As part of a Senior Citizen
Therapy Fun Day at the Jewish Community Center Of South Hampton Roads ,(see my
Senior Clay Pages)I taught a second class on
using clay for strengthing hands. A fun day. This time I used Rubber Stamps to
make pins. I used about 1 oz of sculpey clay (softer for hands) per pin and after baking used Flaster
Plaster brown anitque, Fimo Gold Powder and Sculpey Gloss glaze to finish them.
(Don't forget to scratch their name or initials onto the back of the piece
before baking. Somewhere where the pin will not cover it up.)
I did the baking and antiquing at home for them as time was limited. After
baking the clay and they cooled down I painted the antiquing on and barely left
it on before wiping off. If it gets too dark a wet paper towel can help. After
that dried. I gently brushed some gold powder lightly over part of the pin using
Sculpey glaze to make it liquid. After a few minutes, I painted the whole thing
with Sculpey Gloss and left to dry.
| |